Installing and Configuring MFA Applications
Laurel Ridge requires employees and students to utilize Multifactor Authentication (MFA) to gain access to Laurel Ridge resources as well as resources within the Virginia Community College System.
Student MFA Installation and Configuration
Students at Laurel Ridge Community College are required to use the VCCS MFA method ONLY to gain access to educational resources.
Click the link below for instructions on installing and configuring the VCCS MFA application.
If you need assistance with the MFA process, please contact Information Technology Services at 540-868-7223.
Employee MFA Installation and Configuration
Employees at Laurel Ridge Community College are required to use 2 MFA methods.
One method is for access to resources at Laurel Ridge (email, Microsoft Office applications).
The second MFA method will be used to access resources at the VCCS.
New employees can follow the instructions below to install and configure both MFA applications.
Instructions under Step 1 will help you set up Microsoft Authenticator.
After you have finished setting up the Microsoft Authenticator application you can click on the link under Step 2 to set up and configure the Rapid Identity application used by the VCCS.
If you need assistance with the MFA process, please contact Information Technology Services at 540-868-7223.
Step 1: Setting up Multi-Factor Authentication using Microsoft Authenticator
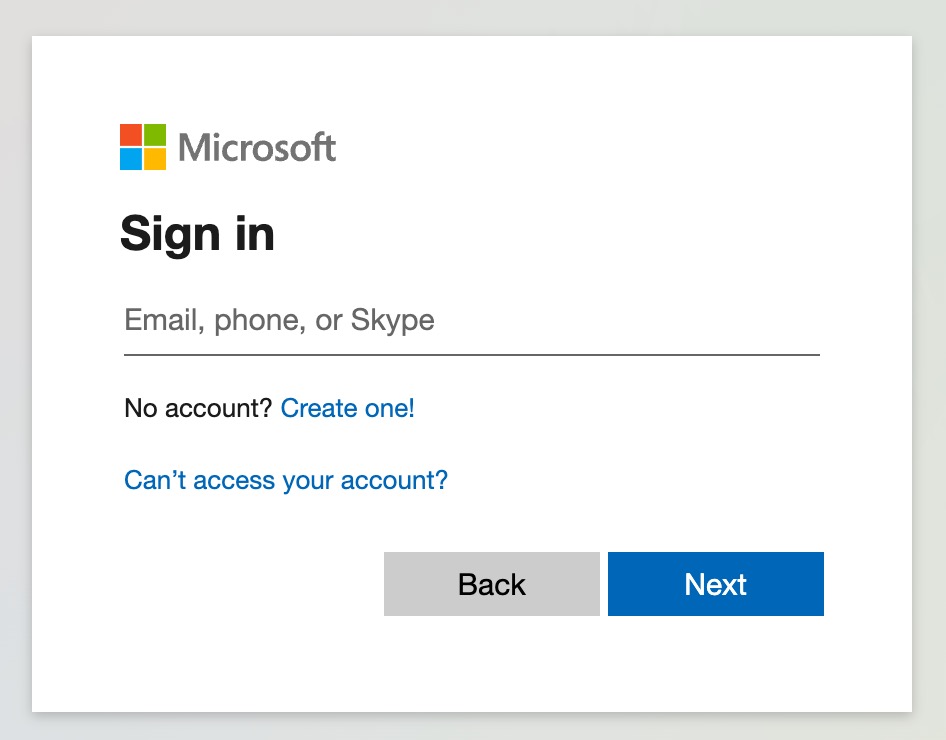
Sign into your Laurel Ridge account on your computer using your Laurel Ridge Username and Password.
After you sign into your account, you’ll see a prompt that asks you to provide more information before it lets you access your account.
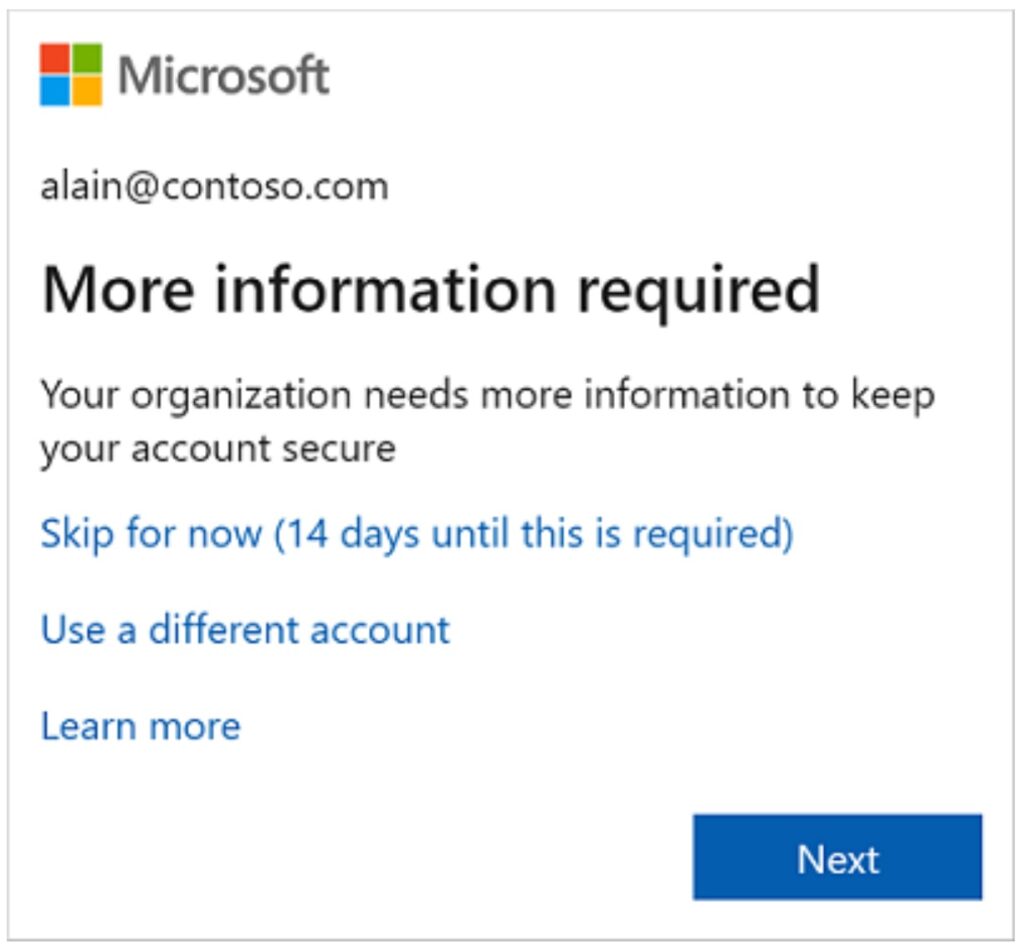
Set up your security info using the wizard.
Follow these steps to set up your security info for Laurel Ridge account from the prompt.
1. After you select Next, a Keep your account secure wizard appears, showing the first method your administrator and organization require you to set up. For this example, it’s the Microsoft Authenticator app.
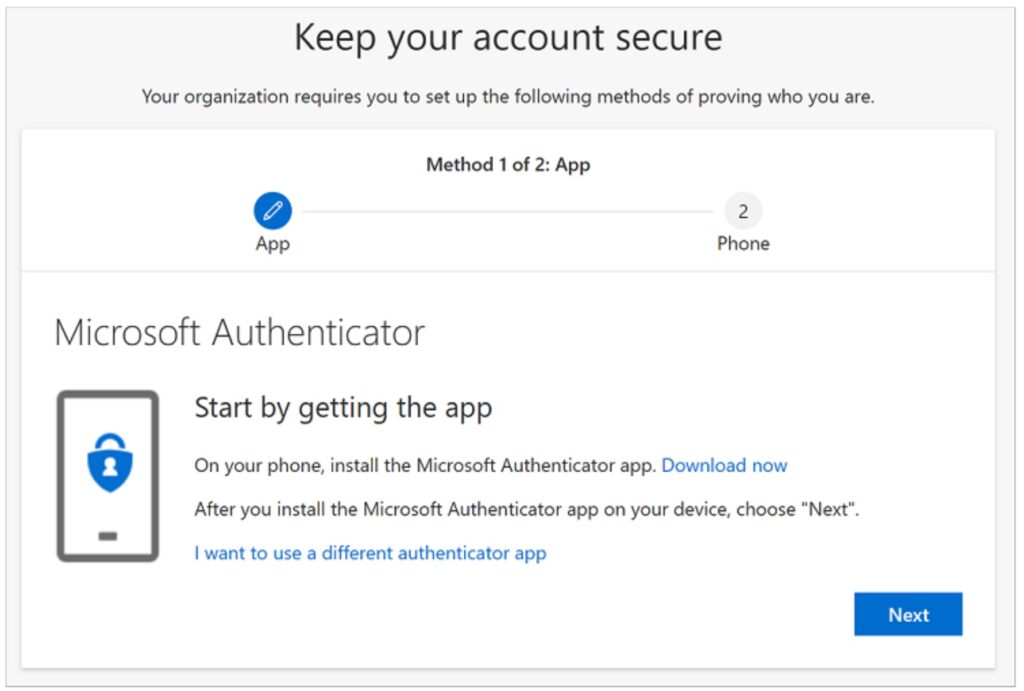
2. Select Download now to download and install the Microsoft Authenticator app on your mobile device, and then select Next. For more information about how to download and install the app, see Download and install the Microsoft Authenticator app.
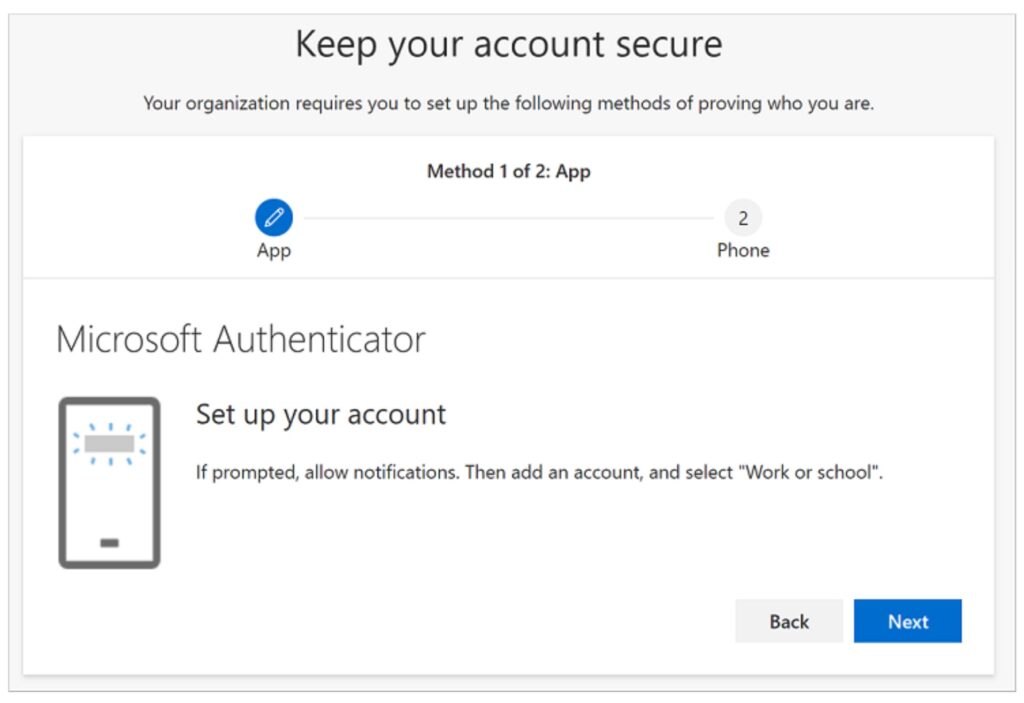
3. Remain on the Set up your account page while you set up the Microsoft Authenticator app on your mobile device.
4. Open the Microsoft Authenticator app, select to allow notifications (if prompted), select Add account from the Customize and control icon on the upper-right, and then select Work or school account.
Note: The first time you set up the Microsoft Authenticator app, you might receive a prompt asking whether to allow the app to access your camera (iOS) or to allow the app to take pictures and record video (Android). You must select Allow so the authenticator app can access your camera to take a picture of the QR code in the next step. If you don’t allow the camera, you can still set up the authenticator app, but you’ll need to add the code information manually. For information about how to add the code manually, see Manually add an account to the app.
5. Return to the Set up your account page on your computer, and then select Next. The Scan the QR code page appears.
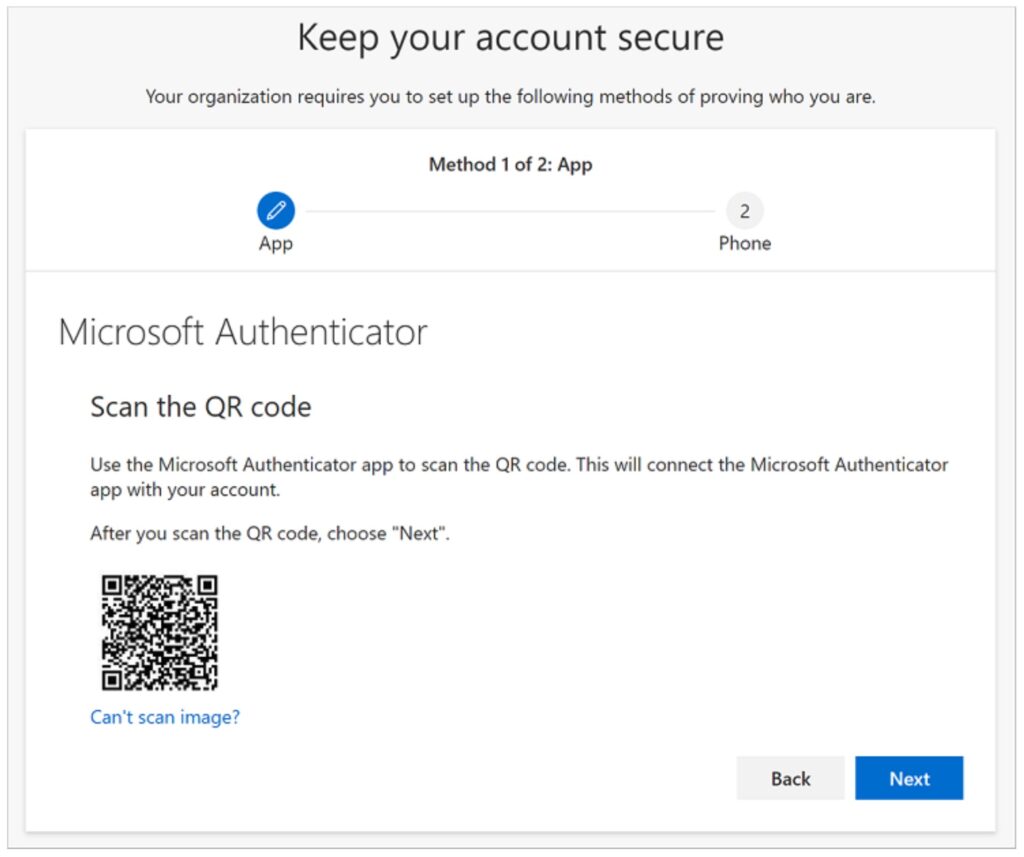
6. Scan the provided code with the Microsoft Authenticator app QR code reader, which appeared on your mobile device after you created your work or school account in Step 5. If the QR code reader can’t read the code, you can select the Can’t scan the QR image and manually enter the code and URL into the Microsoft Authenticator app. For more information about manually adding a code, see Manually add an account to the app.
7. Select Next on the Scan the QR code page on your computer. A notification is sent to the Microsoft Authenticator app on your mobile device, to test your account.
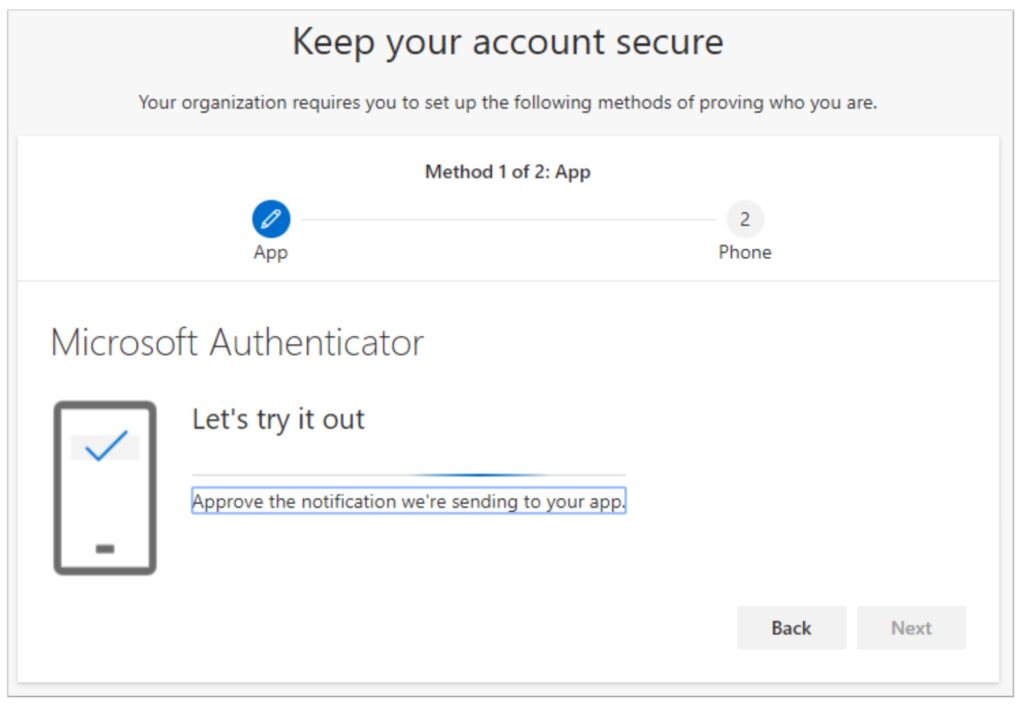
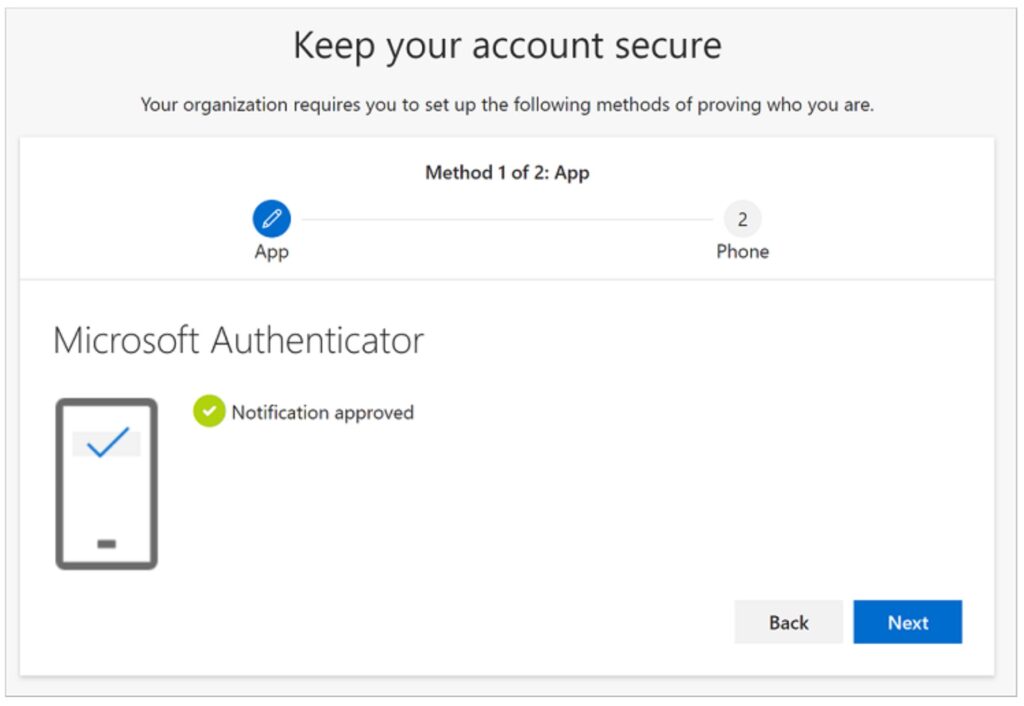
8. Approve the notification in the Microsoft Authenticator app, and then select Next. Your security info is updated to use the Microsoft Authenticator app by default to verify your identity when using two-step verification or password reset.
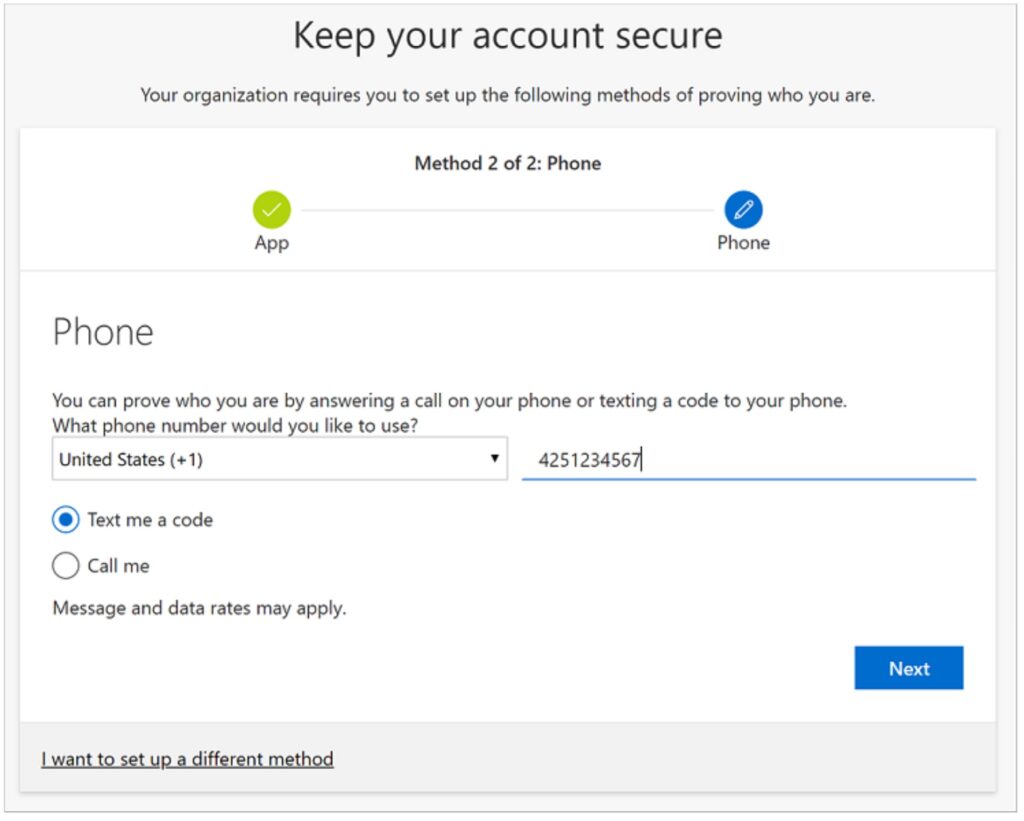
9. On the Phone set up page, choose whether you want to receive a text message or a phone call, and then select Next. In this example we’re using text messages, so you must use a phone number for a device that can accept text messages. A text message is sent to your phone number. If would prefer to get a phone call, the process is similar.
10. Enter the code provided by the text message sent to your mobile device, and then select Next.
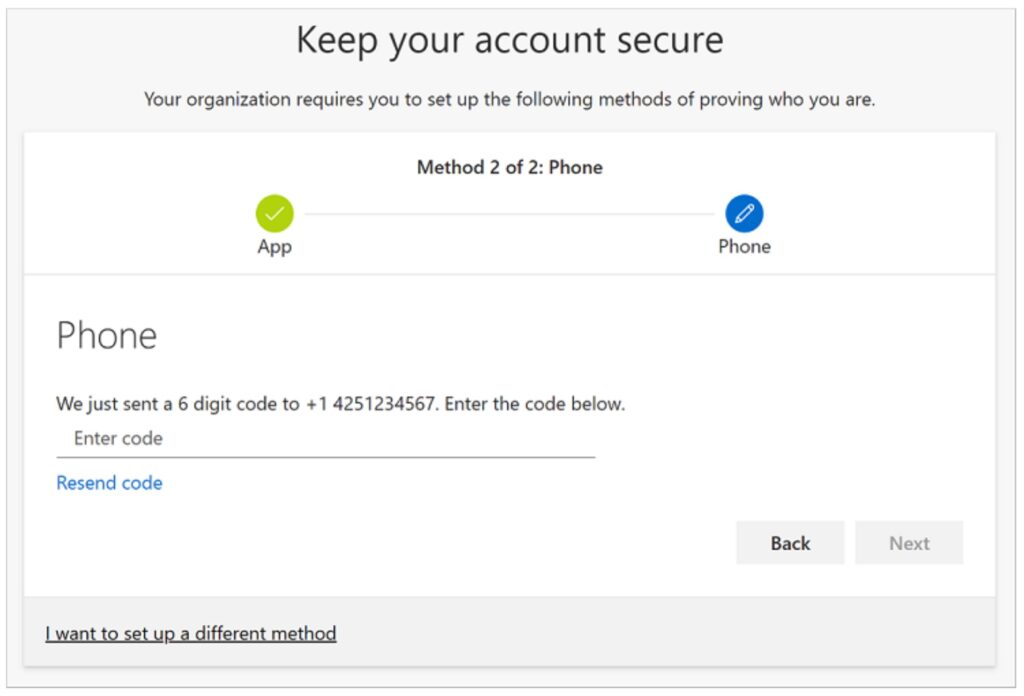
11. Review the success notification, and then select Done.
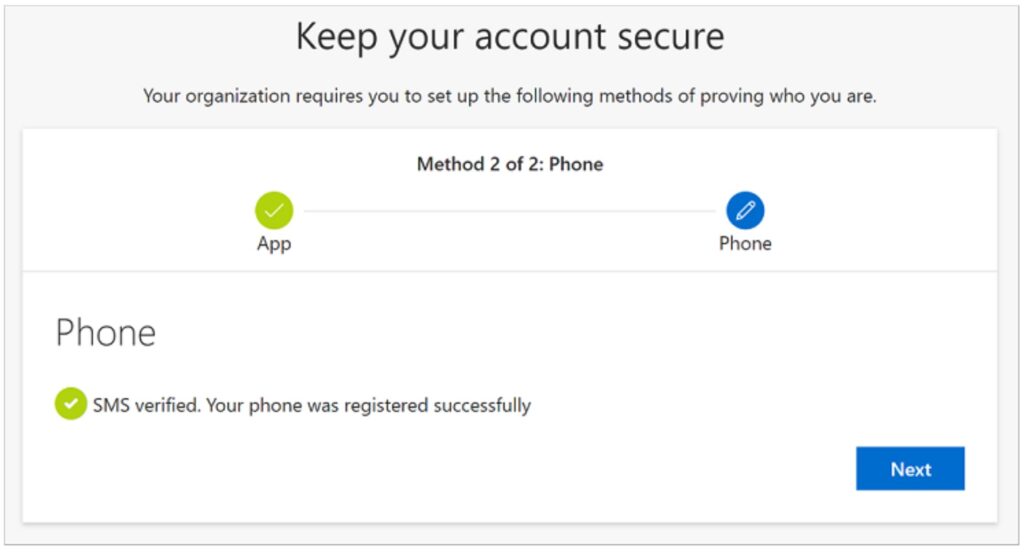
12. Review the Success page to verify that you’ve successfully set up both the Microsoft Authenticator app and a phone (either text message or phone call) method for your security info, and then select Done.
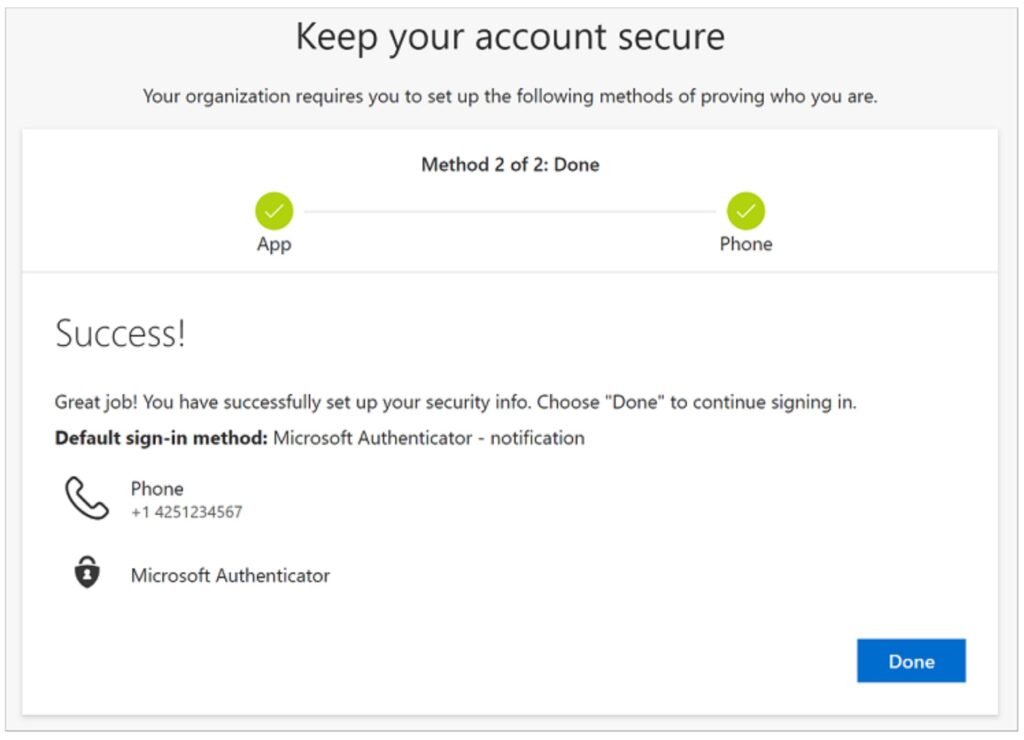
Congratulations you have successfully configured MFA for your Laurel Ridge Account. Please move to Step 2 so that you can configure the MFA application for the VCCS.
Step 2
Click the link below to install and configure the Rapid Identity application for VCCS Access.
